
-
-
Before starting, please insert the nuts to make them ready for the assembly.
-
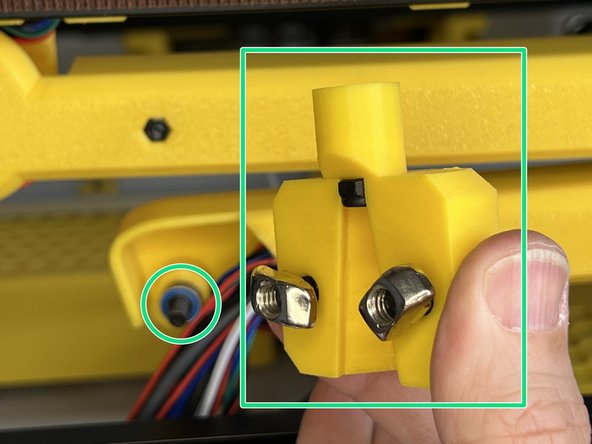
Find the part labelled as Z06 and place two M3 Hex Nuts at the back. Push them all the way in with an M3 Screw if necessary. If you don't push them all in the screw might not be able to reach the nut later. The picture showing front and back view of the Z06 part
-
Place two M5 Nylock Nuts in the centres.
-
Find the part labelled as Z04 and place two M3 Hex Nuts. Again, push them all the way in with an M3 screw. The picture showing front and back view of the Z04 part
-
Insert an M5 Nylock Nut to the slot on the bottom mount of the Z Cable Lift. This part is going to be mounted to the back bottom 3030 extrusion on the frame.
-
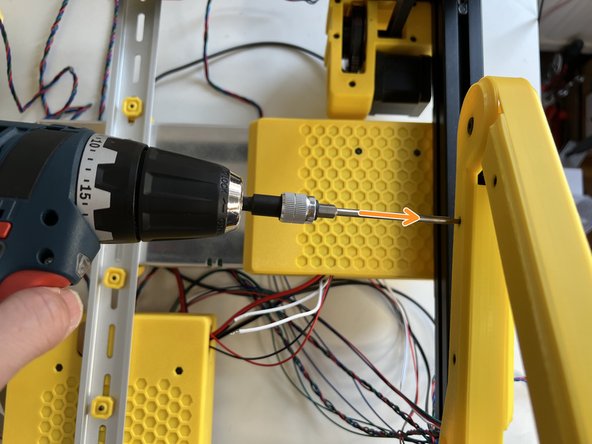
Insert two M6 x 12 mm Screws and screw the M6 3030 Drop-in T-Nuts.
-
-
-
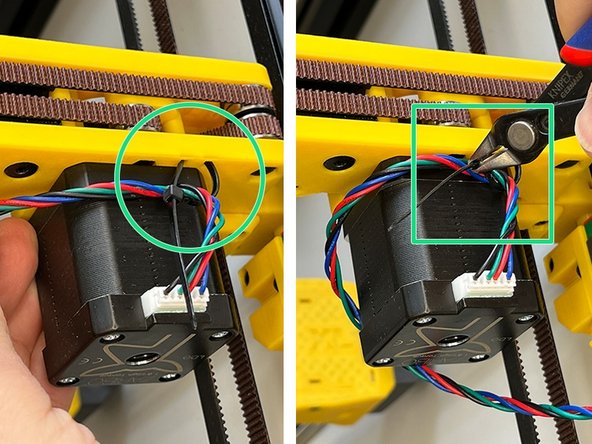
Insert a Zip Tie to the slot on the A Carriage Part (A BOT).
-
Label the motor cable as 5 for the A Motor.
-
Tighten the zip tie around the sensor cable and motor cable. Trim the excess zip tie.
-
-
-
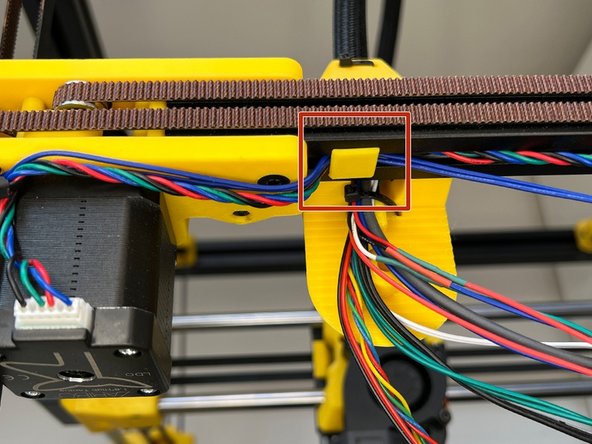
Insert the sensor and motor cable to 2020 Extrusion Canal and fix them with a 2020 Cable Clip.
-
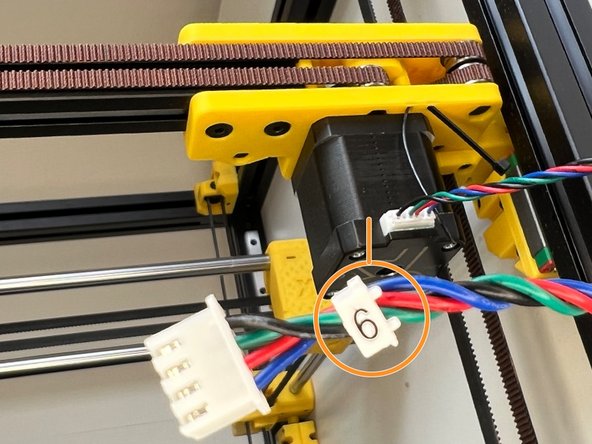
Label the B Motor cable as 6.
-
Insert a Zip Tie into the slot on the B BOT part, tighten the zip tie around the motor cable and tighten. Trim the excess zip tie.
-
-
-
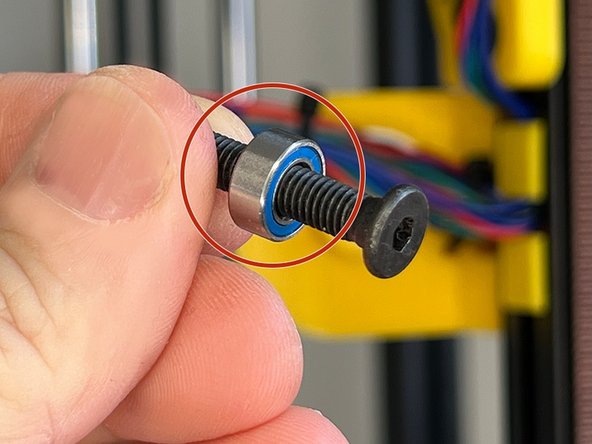
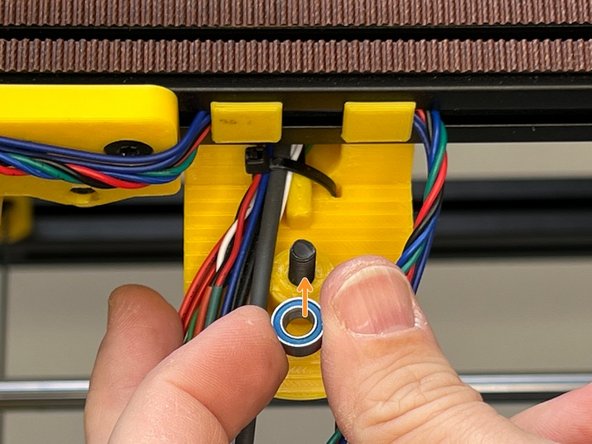
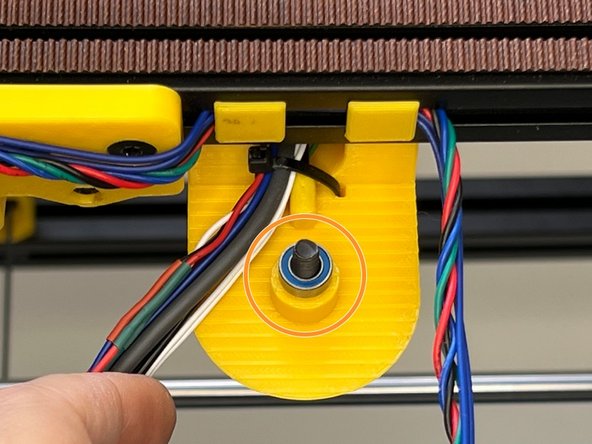
Slide an mr105zz Bearing on the M5 x 25 mm Ultra-Low Head screw.
-
Insert the M5 screw to the centre of the Z Lift Top Holder. Insert a secondary mr105zz Bearing and prepare for the joint. One bearing behind one bearing front, total 2 bearings for each joint.
-
-
-
Tuck in the B Motor cable in the 2020 extrusion canal and bring it next to the A Motor and endstop cables.
-
Collect the cables with a zip tie.
-
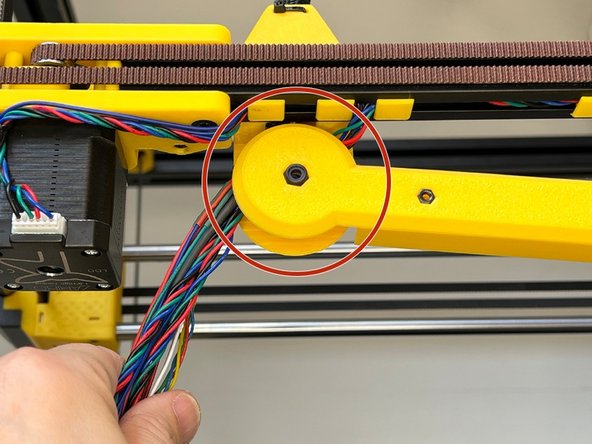
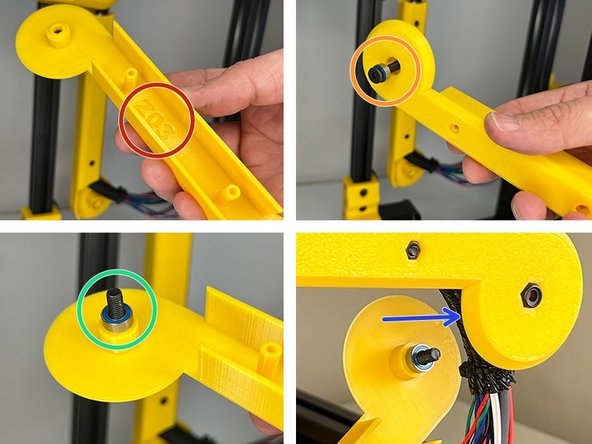
Find the part labelled as Z06.
-
-
-
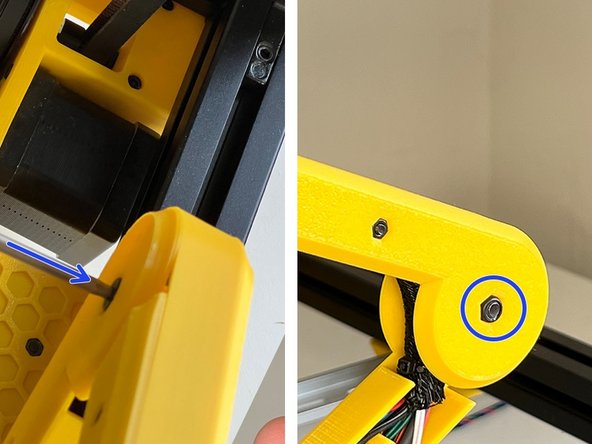
Place the smaller wheel by centring with the M5 screw and tighten the screw. (Tightening a nylock nut will be harder than a regular nut). The bearings will keep the joint fluent and will prevent the screw from loosening in time.
-
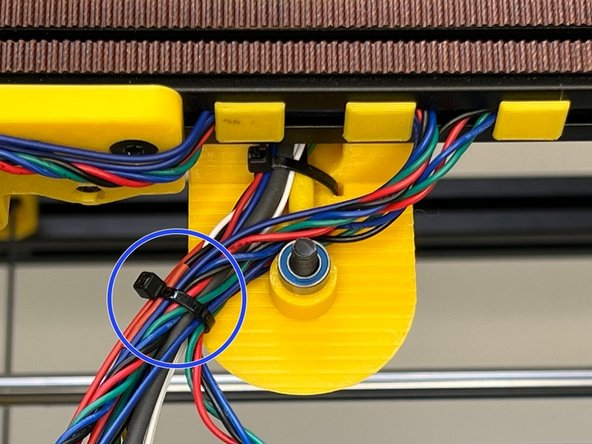
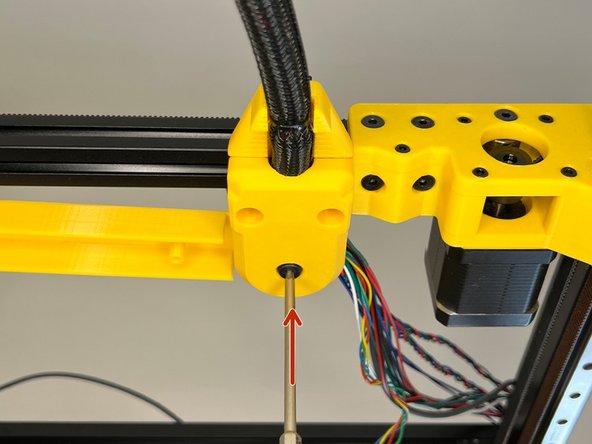
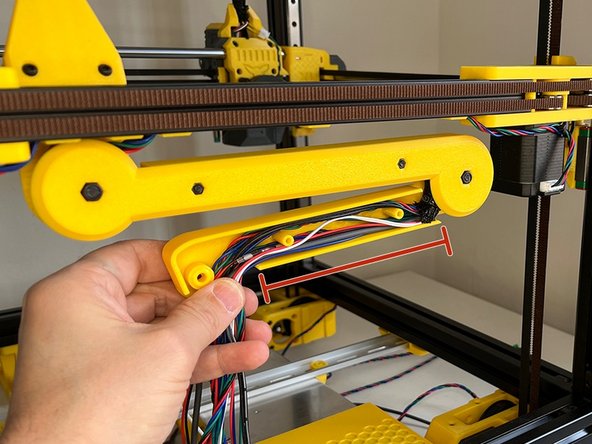
Use a zip tie and tuck in the cable harness by dividing it into two equal portions after the zip tie.
-
-
-
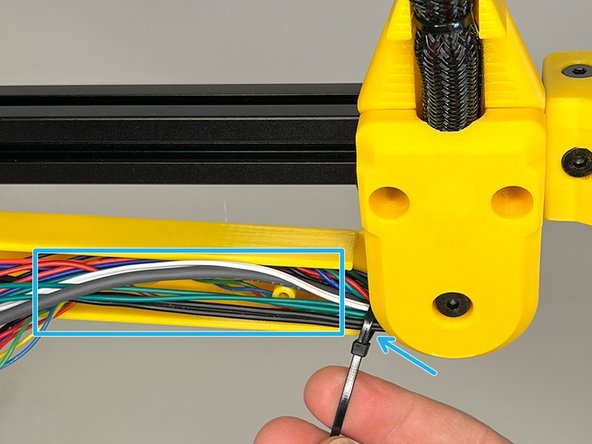
Divide the cable harness equally and tuck them in.
-
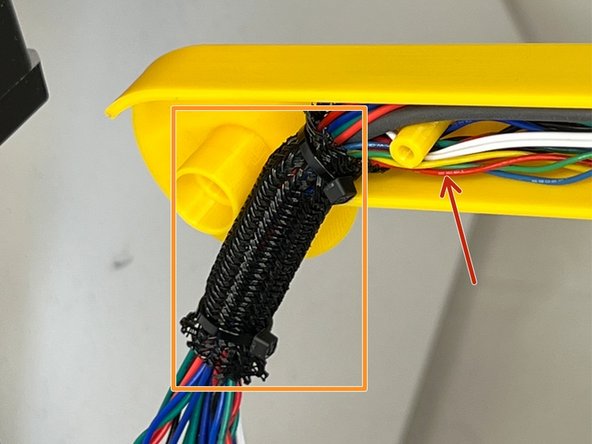
You can use a 5cm cable sleeve and zip tie it from both ends.
-
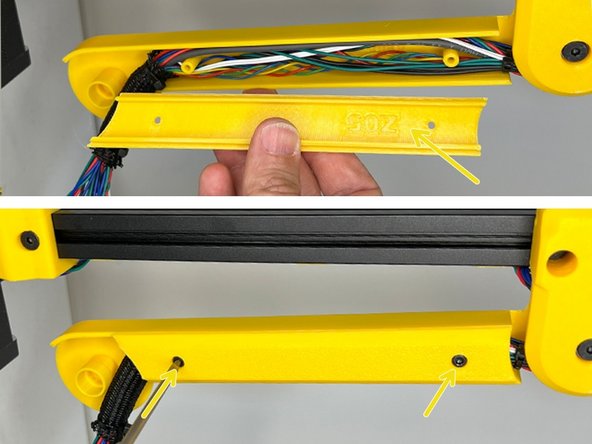
Find the part labelled as Z05 and cover the arm and affix with two M3 x 22 mm Screws.
-
-
-
Find the part labelled as Z03.
-
Insert an mr105zz Bearing on the M5 x 25 Ultra Low Head screw and push it in the centre of the part.
-
Place another mr105zz Bearing on the other side.
-
Fixate the joint and tighten the M5 screw.
-
-
-
Tuck in the cables.
-
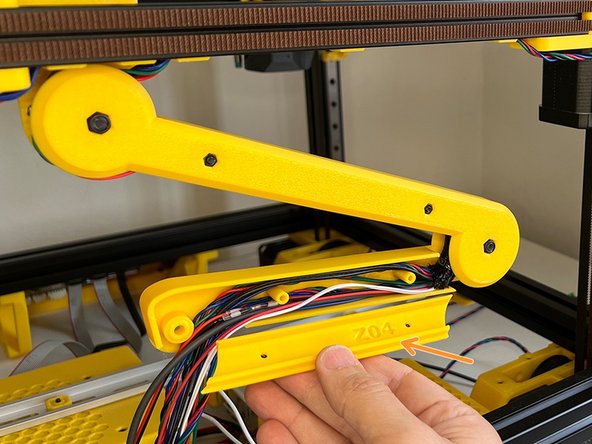
Find the part labelled as Z04 to cover the arm and use two M3 x 22 mm Screws to affix.
-
-
-
Slide an mr105xx Bearing onto the M5 x 25 mm Ultra-Low Head Screw .
-
Insert the M5 screw to the centre and insert another mr105zz Bearing for the joint.
-
Affix the Z Cable Lift Bottom attachment.
-
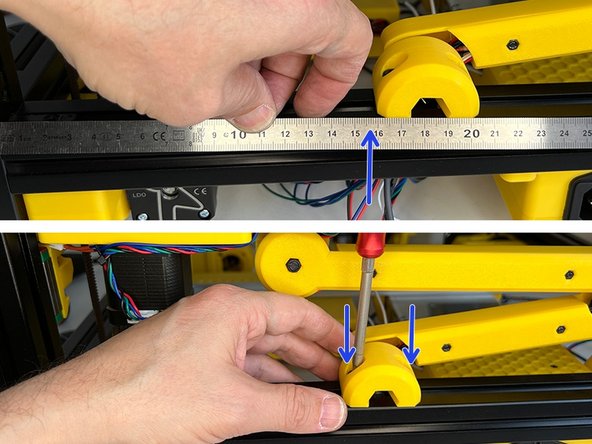
The bottom mount should be at a 16 cm distance from the left. Tighten the M6 x 12 Screws and ensure the drop-in T-Nuts are free to move within the canal.
-


Cancel: I did not complete this guide.
3 other people completed this guide.
