
-
-
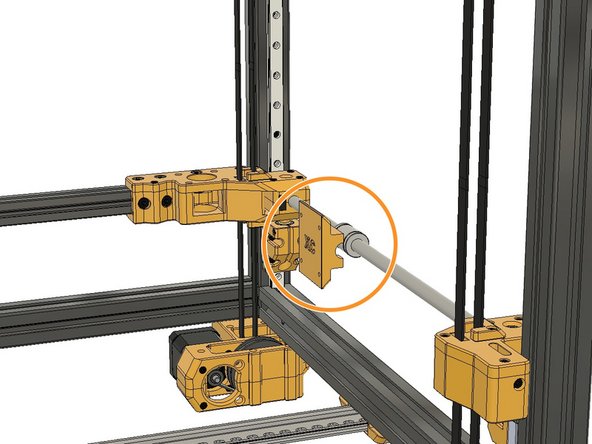
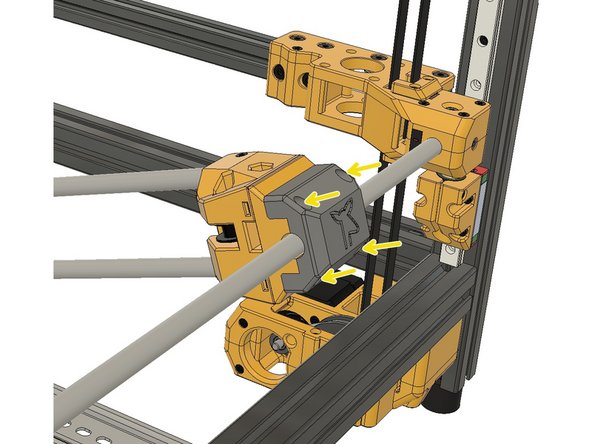
Find the part labelled as XR (X-Axis Right) and insert the M3 Square Nuts all the way in. Our tolerances are tight; please use a plier to insert the square nut if necessary.
-
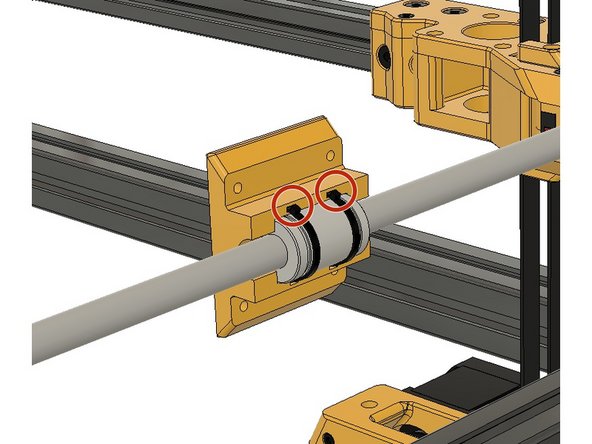
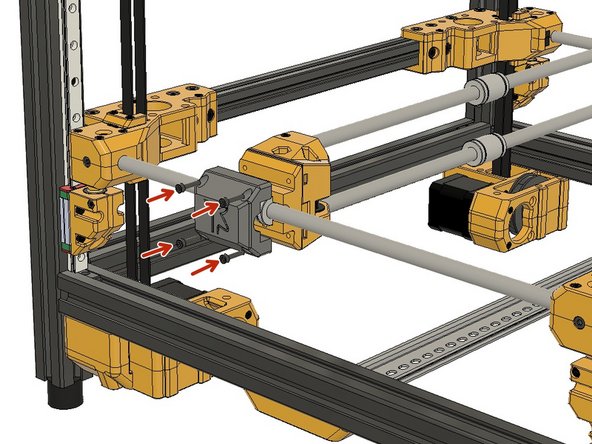
Screw the M3 x 10mm Screws but do not tighten them yet. You will do it later to lock the X-Axis Steel Rods.
-
Push the M5 Hex Nuts all the way into the hex slots at the bottom of the XR part. Top slots for M5 screws are hex-shaped on purpose but they are larger and you can't keep the hex nuts in place in them so you won't be able to do a mistake.
-
-
-
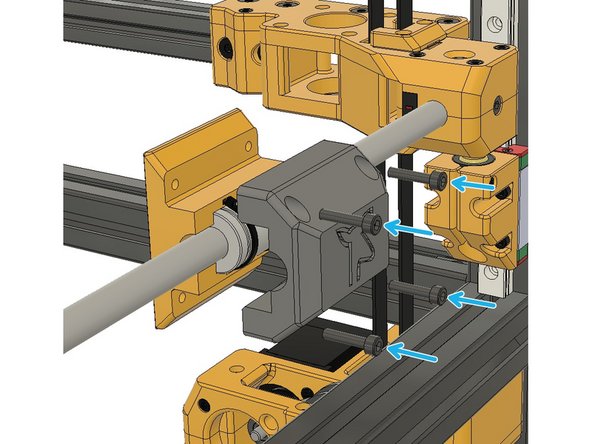
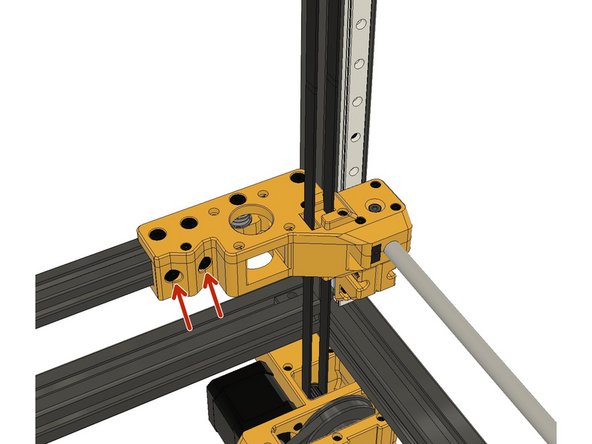
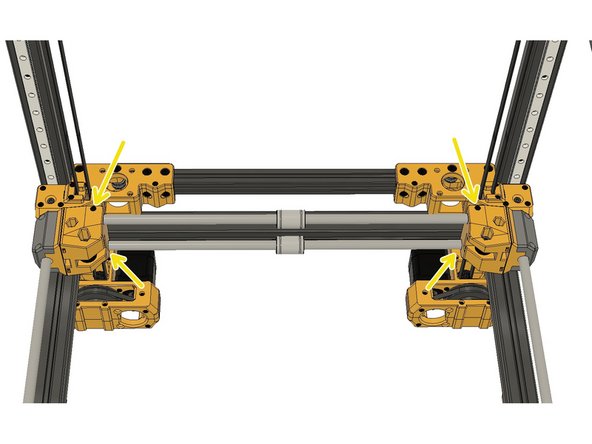
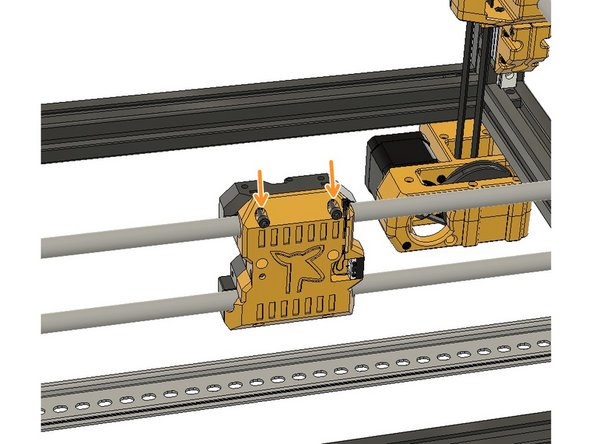
If you remember, we only tighten these two M5 x 10mm screws temporarily on the A Carriage on previous steps while assembling the gantry. Now, please loosen these two screws slightly.
-
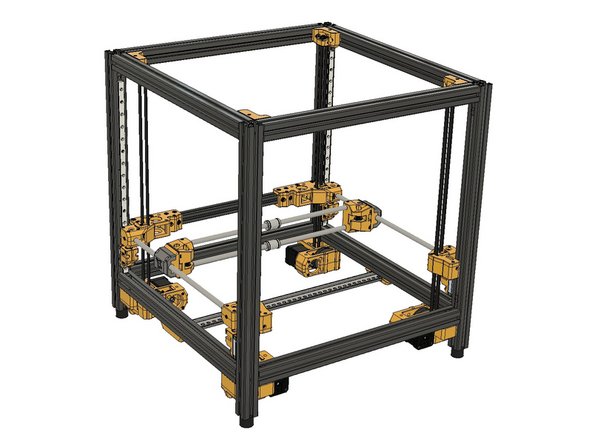
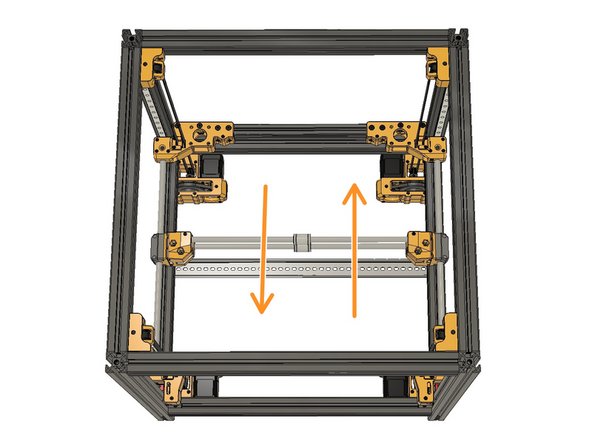
Move the X-Axis back and forth to ensure that it is moving smoothly.
-
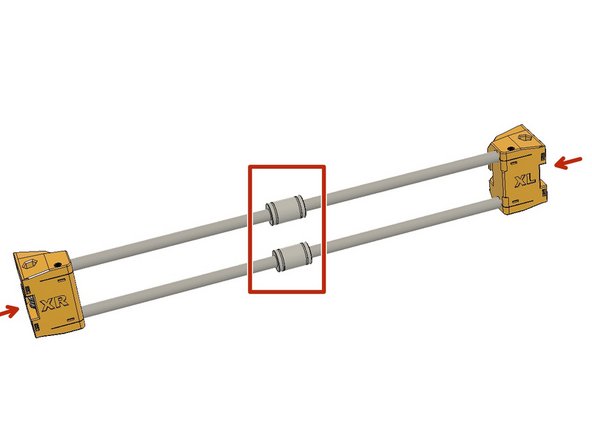
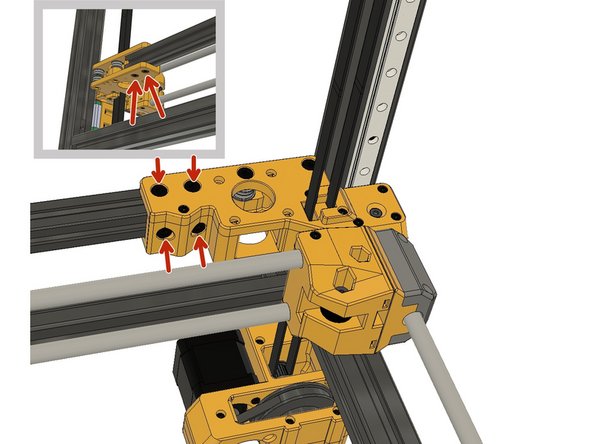
Now move the X-Axis all the way back and tighten the four set screws for the rods on the XR and XL parts.
-
-
-
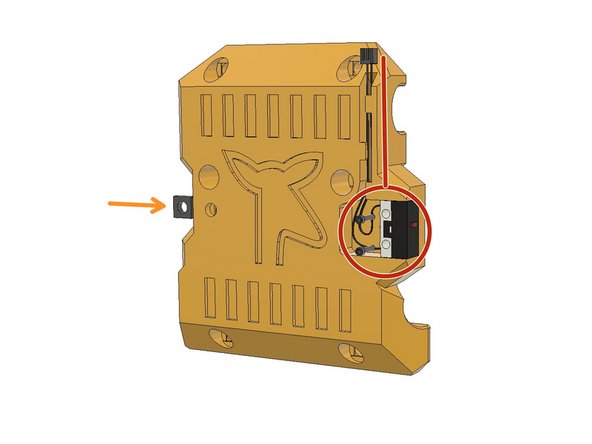
Pass the endstop cables as seen in the picture and mount the endstop with two M2 x 10mm screws.
-
Insert an M3 Square Nut on the left side for radial fan support. Again, our tolerances are tight; please use a plier to insert the square nut if necessary.
-
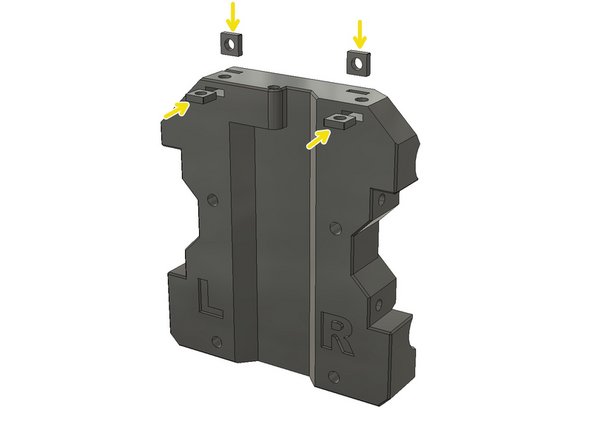
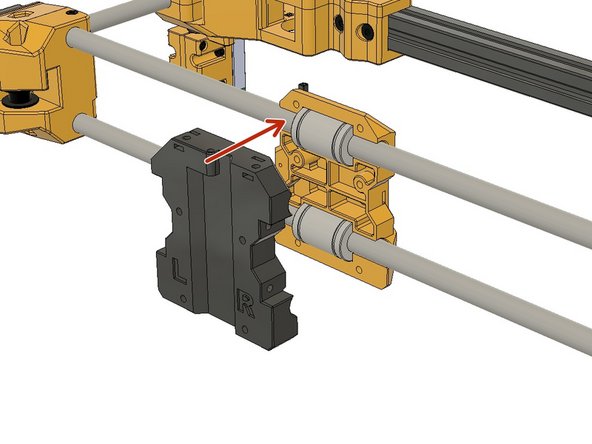
Find the X Carriage Body Part labelled as L and R. Insert four square nuts to their places on top and front.
-
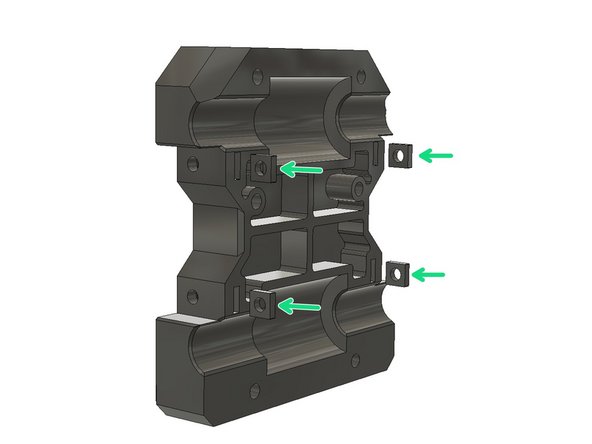
Turn the backside of the carriage body and insert four M3 Square Nuts all the way in.
-


Cancel: I did not complete this guide.
2 other people completed this guide.
